
Apache JMeter – one of the best performance testing tool with loads of features and prominently used by Fortune 500 companies and more. I have already created more than 75+ videos on JMeter alone. If you want to get mastered in JMeter, this is the only playlist you need to get started and go beyond. Distributed load testing is one of critical features for any tool. But to get started with distribution of load in JMeter is kind of discouraging, even if you follow the steps mentioned in the documentation. What if I told you that there is a much easier way than you think. In this blog post, I’ll show you how to distribute the load in JMeter in an easy and straightforward way using pdsh.
Table of Contents
Distributed Load Testing in JMeter 101
Apache JMeter’s design pattern in distributed load testing is master-worker. Master-Worker is a concurrency pattern in software engineering and distributed computing where one master node controls/coordinate the tasks across multiple worker nodes. This design pattern helps in parallelism, load balancing, scalability, and fault tolerance.
- You configure the list of worker IP addresses in
masternode - Then, in each
workernode,jmeter-serverwill be started - Each
workernode should have all the dependencies of JMeter e.g. test data, plugins, and more - From the
masternode, the test can be started using CLI or GUI masternode will coordinate with all theworkernodes for load generation, monitoring, and results generation- Once the test is done, the results can be collected from the
masternode
What is pdsh?
Parallel Distributed Shell (PDSH) is a command-line tool for executing shell commands on multiple remote machines in parallel. It is primarily used in the context of high-performance computing (HPC) and cluster management to simplify the process of administering and managing a cluster of machines.
PDSH allows you to run the same command on multiple remote machines simultaneously, which can be useful for tasks like software updates, system monitoring, or any operation that needs to be performed on multiple nodes in a cluster. It can be a time-saving tool when you need to perform actions across a large number of machines.
For example, if you want to list out the files in a directory in three remote machines, you can issue the below command:
pdsh -w ssh://user@machine1,user@machine2,user@machine3 "ls -l /path/to/directory"Prerequisites
The following are the prerequisites to distribute the load among worker nodes:
- Master node which is typically your local system
- At least two worker nodes; it could be AWS EC2, virtual machines, or dedicated servers (make sure that there is no connectivity issues between master-worker nodes)
- pdsh in worker nodes
- JMeter and its dependencies in worker nodes
In this demo, I spun up two Ubuntu virtual machines using multipass. multipass is a command-line tool for managing and orchestrating the deployment of virtual machines. It allows you to create and manage Ubuntu instances on your local machine for development and testing purposes. With Multipass, you can quickly launch and manage virtual machines, which can be particularly useful for developers and testers who need isolated environments.
Here is the link to get started with multipass: https://multipass.run/install
Steps to follow
Create two worker nodes as shown below using the following command. Allocate at least 2 CPUs and 4 GB of memory; the actual configuration may vary based on the load you are testing.
multipass launch --name worker1 23.04 -c 2 -m 4gb
multipass launch --name worker2 23.04 -c 2 -m 4gb
The next step is to login into each worker machine to install JMeter and its dependencies.
multipass shell worker1After successful login, run the below commands which will update the packages, install the default Java Runtime Environment, download the JMeter 5.6.2, and extract it in the home directory.
sudo apt update
sudo apt install default-jre -y
curl -LO https://dlcdn.apache.org//jmeter/binaries/apache-jmeter-5.6.2.tgz
tar -xf apache-jmeter-5.6.2.tgz
Repeat the above steps in worker2 as well.
Copy the IP addresses of workers using multipass list command.
TIP
If you want to execute JMeter from anywhere, you can add the JMeter to /usr/local/bin.

sudo mv apache-jmeter-5.6.2 /usr/local/bin/
export PATH=/usr/local/bin/apache-jmeter-5.6.2/bin:$PATH

To make it permanent, add the export to the .bashrc and source it.
Start Remote Distributed Load Testing
In your local environment i.e. master, make sure you have PDSH installed, if not install it using brew install pdsh in macOS.
For other flavors, please check https://github.com/chaos/pdsh
In this demo, we are going to run the sample JMeter test plan which is located in bin/examples folder.
Set the below environment variable:
PDSH_RCMD_TYPE=ssh To start the load testing issue the below command:
pdsh -l ubuntu -b -w '192.168.205.13,192.168.205.14' /home/ubuntu/apache-jmeter-5.6.2/bin/jmeter -n -t /home/ubuntu/apache-jmeter-5.6.2/bin/examples/CSVSample.jmx -l results.csvpdsh: This is the command used to invoke thepdshtool.-l ubuntu: This option specifies the username to be used when connecting to the remote machines. In this case, it’s set to “ubuntu,” indicating that the SSH connections to the target machines will use the “ubuntu” username.-b: This option tellspdshto run the specified command in the background. This means thatpdshwill not wait for the command to complete on each remote machine before proceeding to the next one.-w '192.168.205.13,192.168.205.14': This option specifies the list of remote hosts or IP addresses that the command will be executed on. In this case, the command will be run on two machines with the IP addresses 192.168.205.13 and 192.168.205.14./home/ubuntu/apache-jmeter-5.6.2/bin/jmeter: This is the path to the JMeter executable on the remote machines. The JMeter tool is being executed on the specified hosts.-n: This option is a flag for JMeter, indicating that you want to run JMeter in non-GUI (command-line) mode. JMeter will execute the test plan without the graphical user interface.-t /home/ubuntu/apache-jmeter-5.6.2/bin/examples/CSVSample.jmx: This option specifies the path to the JMeter test plan file that should be executed. In this case, it’s using a test plan file located at/home/ubuntu/apache-jmeter-5.6.2/bin/examples/CSVSample.jmx.-l results.csv: This option specifies the path to the JTL (JMeter Test Log) file where the results of the test will be saved. The results will be written to a file named “results.csv” in the current working directory.
Here is the output of the test:
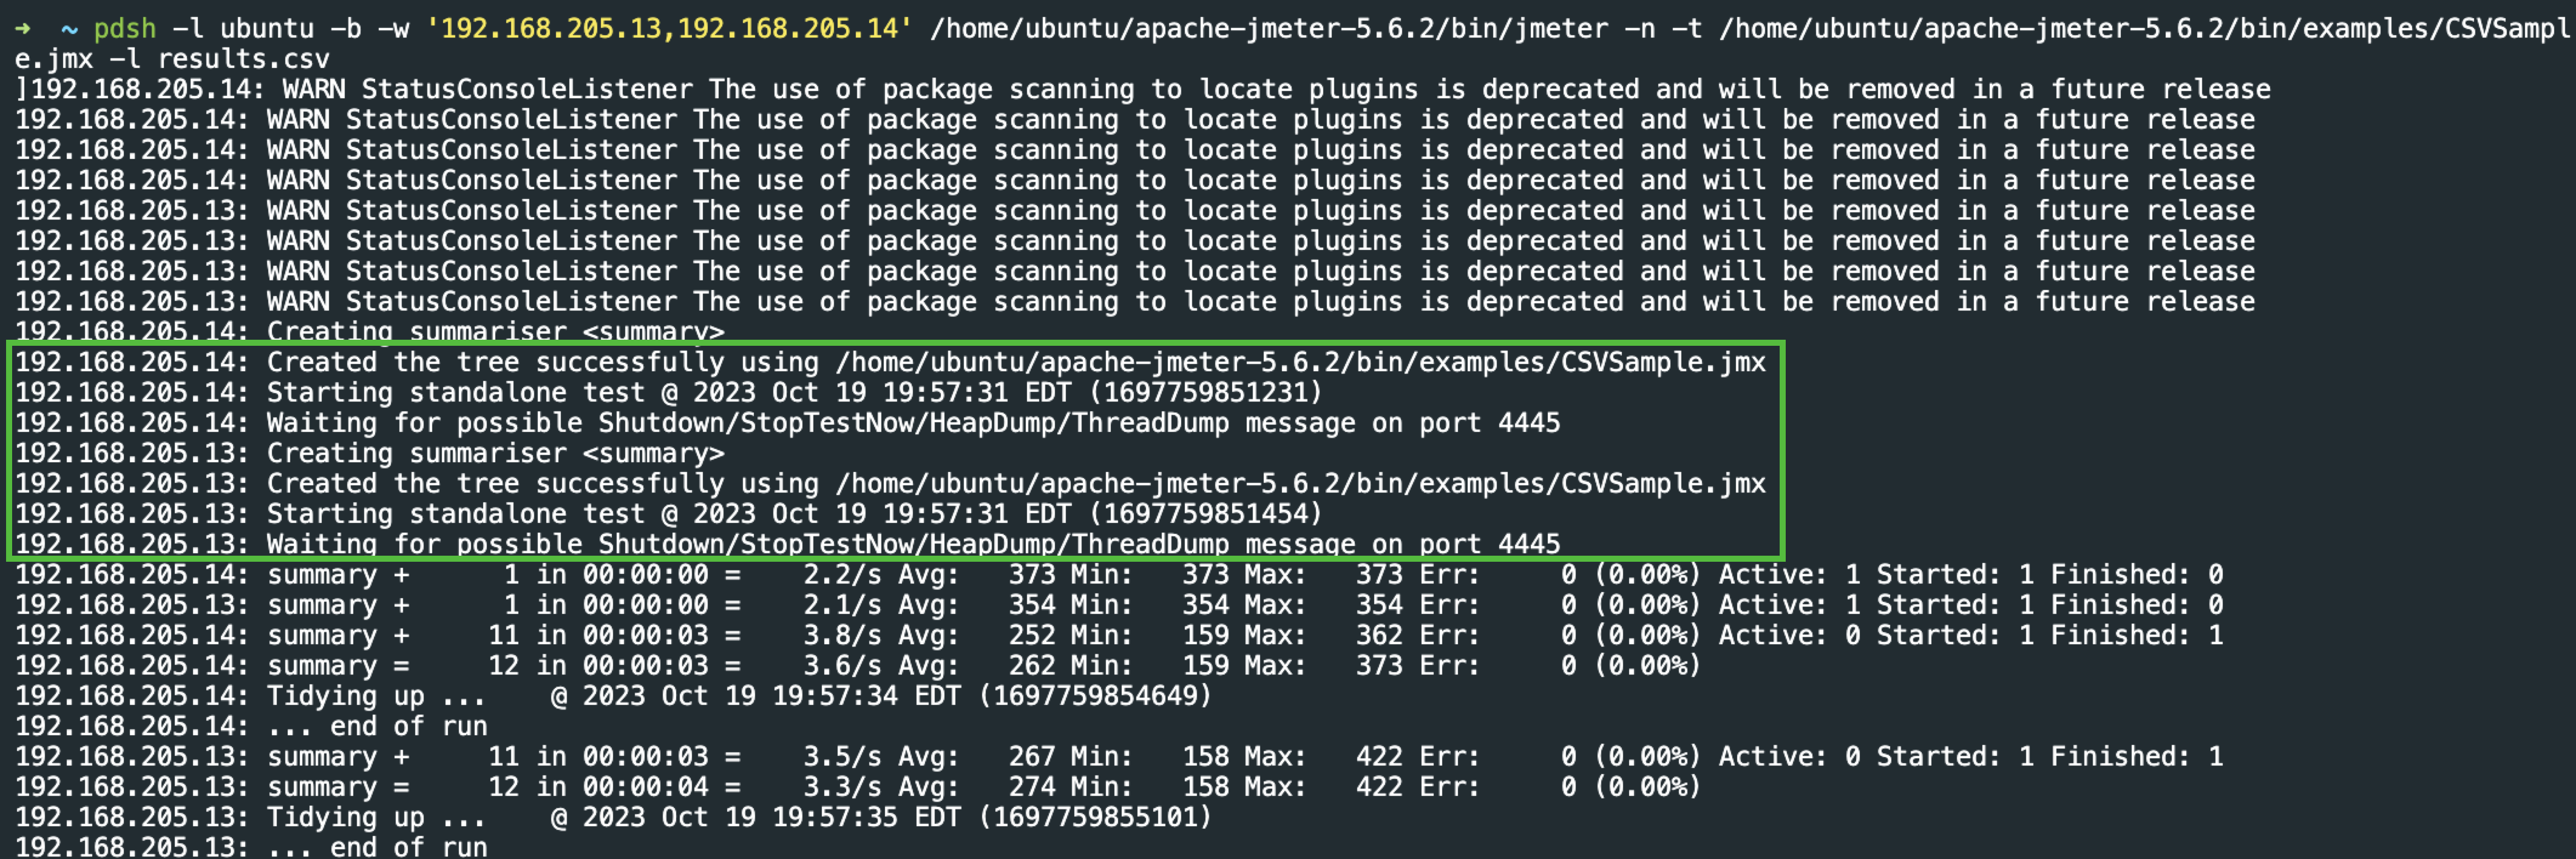
As you see above, the test started in parallel. Once the test is done, the results will be stored in results.csv in a current directory in all the workers.
The next step is to collect the results from all the worker nodes. Run the below bash script which will download the results to your local current directory.
for machine in 192.168.205.13 192.168.205.14; do scp ubuntu@$machine:/home/ubuntu/results.csv $machine.csv & donefor machine in 192.168.205.13 192.168.205.14; do ... done: This is a Bash loop that iterates over the two IP addresses specified (192.168.205.13 and 192.168.205.14). The loop will execute the commands within thedoanddoneblock for each IP address.scp ubuntu@$machine:/home/ubuntu/results.csv $machine.csv: This is the actual command executed within the loop. It uses thescpcommand (secure copy) to copy the “results.csv” file from the remote machine (specified by the$machinevariable) to the local machine. Theubuntu@$machinespecifies the username (ubuntu) and the remote machine’s IP address. It specifies the source file on the remote machine (/home/ubuntu/results.csv) and the destination file on the local machine ($machine.csv). The$machinevariable is used to dynamically generate the name of the local file based on the remote machine’s IP address.&: This ampersand at the end of thescpcommand is used to run thescpcommand in the background, allowing the script to continue to the next iteration of the loop without waiting for the file transfer to complete. This makes the file transfers parallel, meaning they happen simultaneously for both IP addresses.
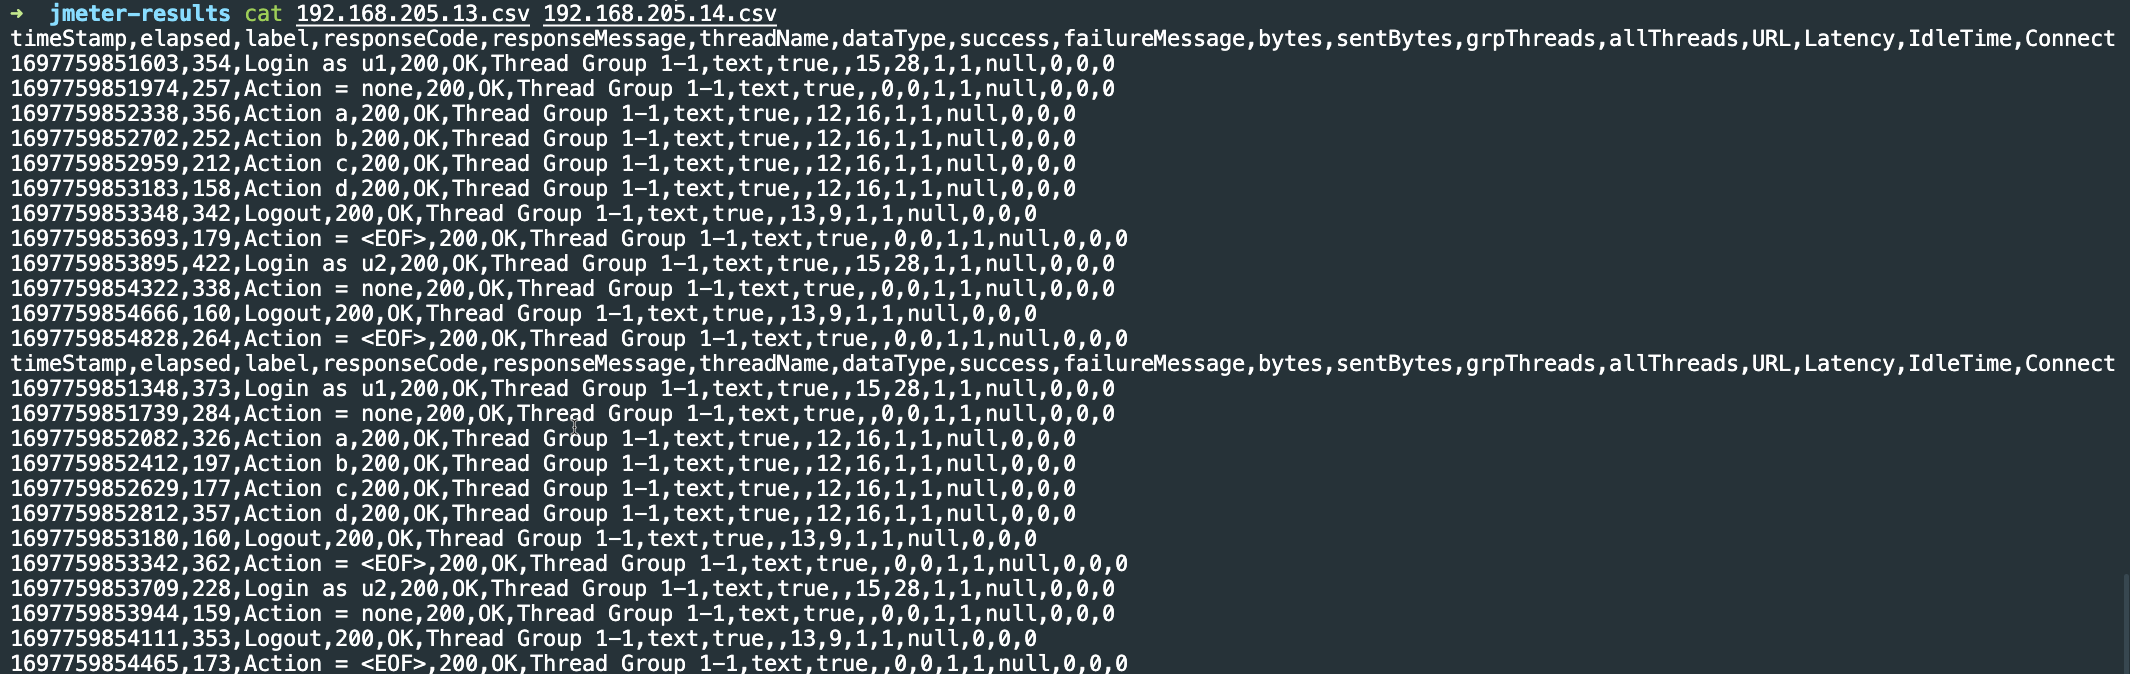
Here is the csv output of the results:
Merging Results
Merging multiple csv files helps in generating unified report. But merging here is little tricky. Each csv file has a header. When you use generate HTML report in JMeter CLI, it will throw error.
To fix this it is important to remove the headers in n-1 results where n is the number of workers.
To remove the header, run the below command in any one of the results file because we have 2 workers.
sed '1d' ~/jmeter-results/192.168.205.14.csv > ~/jmeter-results/192.168.205.14.csvOnce the header is removed run the below command to combine the results into one.
cat ~/jmeter-results/192.168.205.13.csv ~/jmeter-results/192.168.205.14.csv > combined.csvNow use the combined.csv file in JMeter CLI.
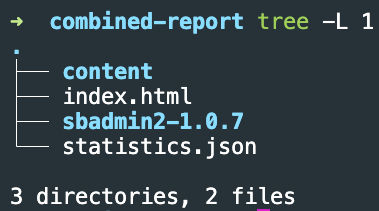
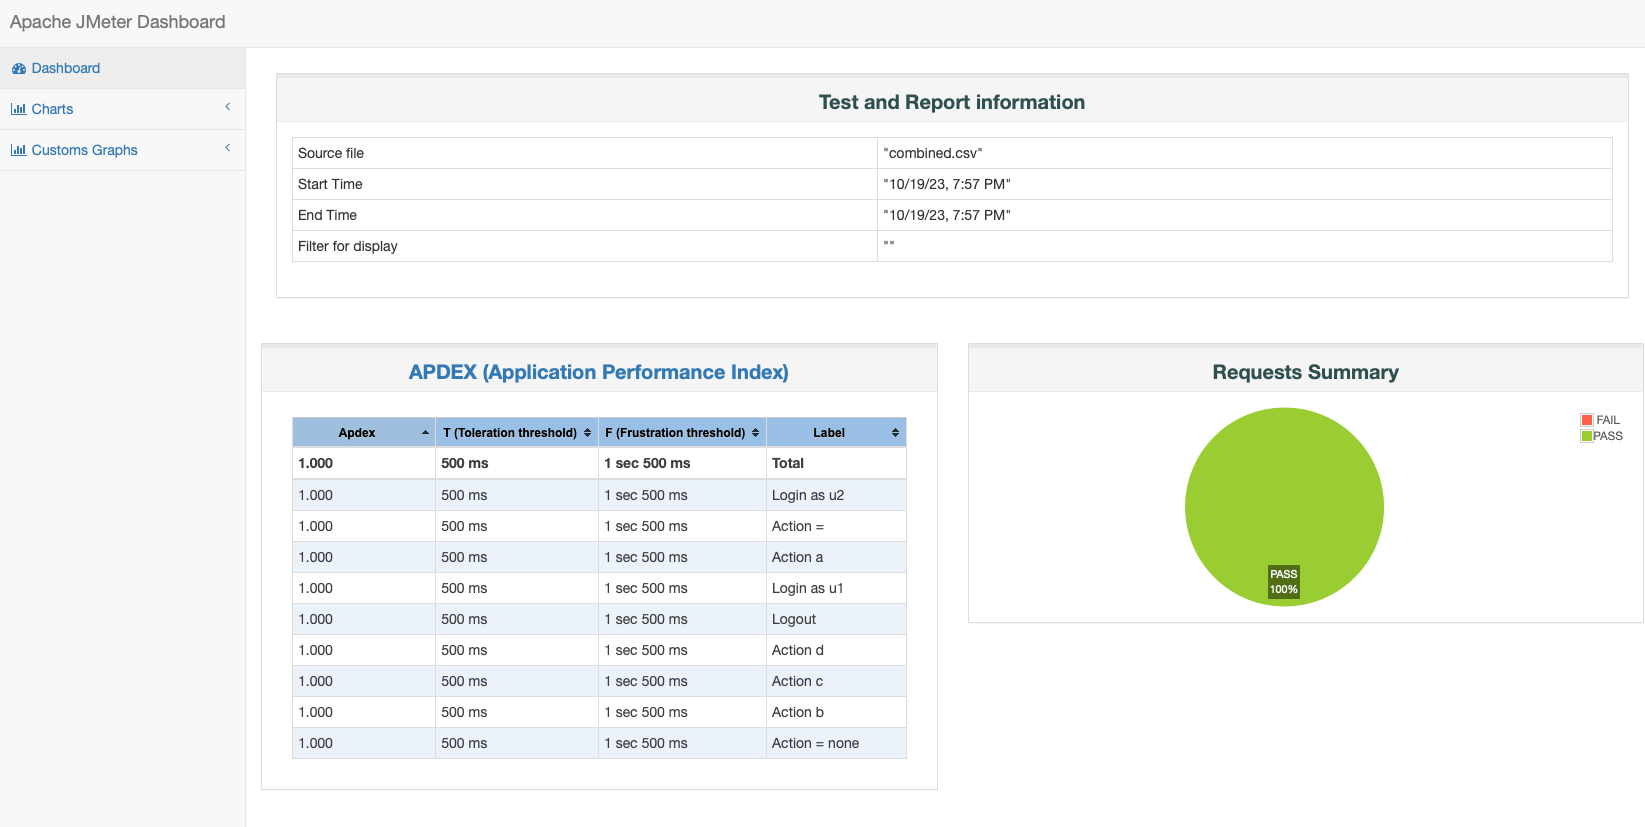
./jmeter -g combined.csv -o combined-reportIn your current directory you will see the combined HTML report.
Congratulations! Now you have mastered into remote distributed load testing using pdsh. It is time to show off this solution to your team.
Conclusion
Executing distributed load testing with JMeter can be a daunting task, especially for those unfamiliar with the tool’s intricate configuration and setup process. However, by utilizing pdsh, a command-line tool designed for parallel execution on remote machines, the process can be simplified and streamlined.
This guide has demonstrated the steps involved in setting up and executing distributed load testing with JMeter using pdsh. By following these steps, you can effectively distribute load across multiple worker nodes, maximizing resource utilization and achieving higher levels of performance testing.
Key takeaways from this guide include:
- pdsh simplifies distributed load testing by enabling parallel execution on remote machines.
- Setting up pdsh involves installing it on worker nodes and configuring the master node.
- Executing distributed load tests involves running JMeter on worker nodes and collecting results.
With this knowledge, you can confidently implement distributed load testing using pdsh and JMeter, enhancing your performance testing capabilities.